Usage via UI
The simplest way to utilize Kolibri is by using the UI. This section shows how to use it and how it is connected to the processing mechanism in the background.
Status Page
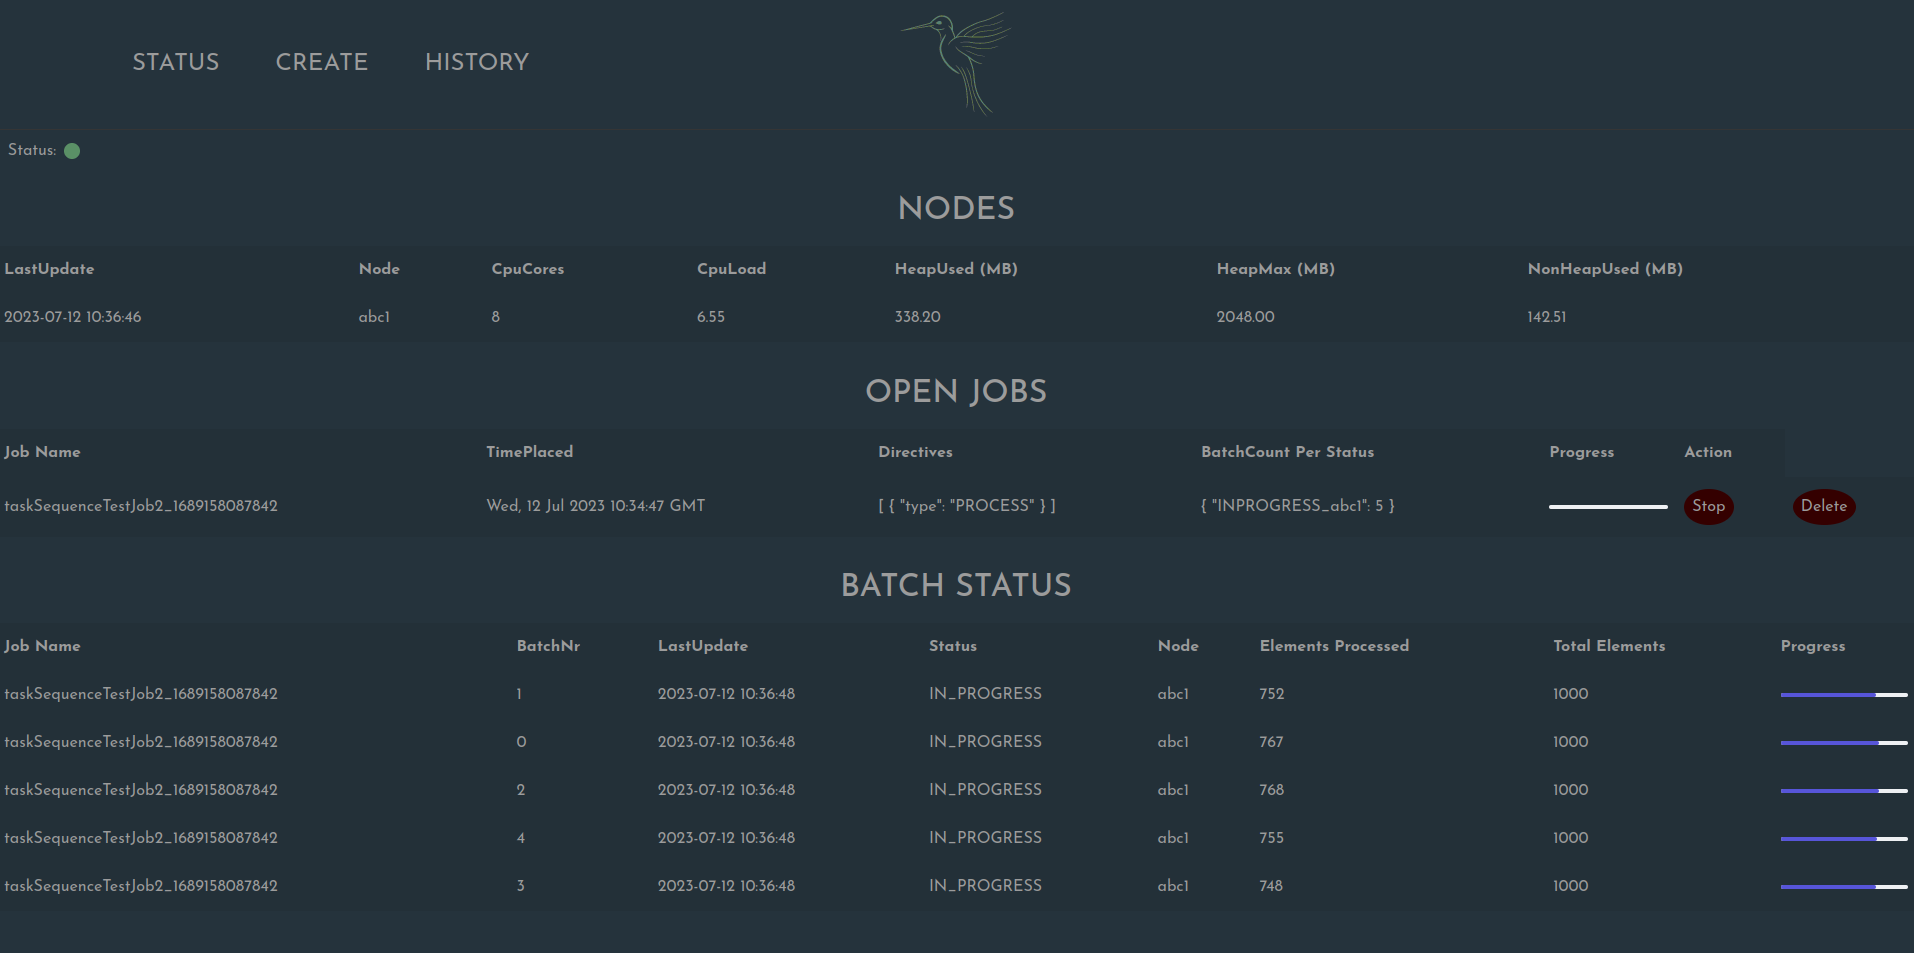
The status page displays several types of information:
Available nodes, time of last update received and their resource utilizationOpen Jobs: either in progress or waiting to be started including controls to Start (adds a directive to the job folder that marks the job for processing), Stop (removes the directive that marks the job for processing, such that the job definition and state information will be kept but ignored for now), Delete (removes whole job data including job definition and batch states, which effectively stops all processing; does not remove already persisted partial results). Also lists the directives placed in the job folder and the batch count per status.Batch Status: listing of all batches currently on progress over all available nodes including the current processing state.
History Page
Listing of completed jobs including the batch count per status. Deleting any entry here only causes the job definition and status information to be removed, the generated results will not be deleted, thus this functionality can safely be used for housekeeping.

Create Page
This is the page that allows creation of new jobs. This page has tabs for two different editing modes:
FORM mode
FORM: provides form fields per selected job type / name. If a template is available and selected, the form
will be pre-filled with those details. Note that this form is not manually added per type, but the backend sends
a structural definition of the expected fields in json format to the frontend, which then generates the needed fields.
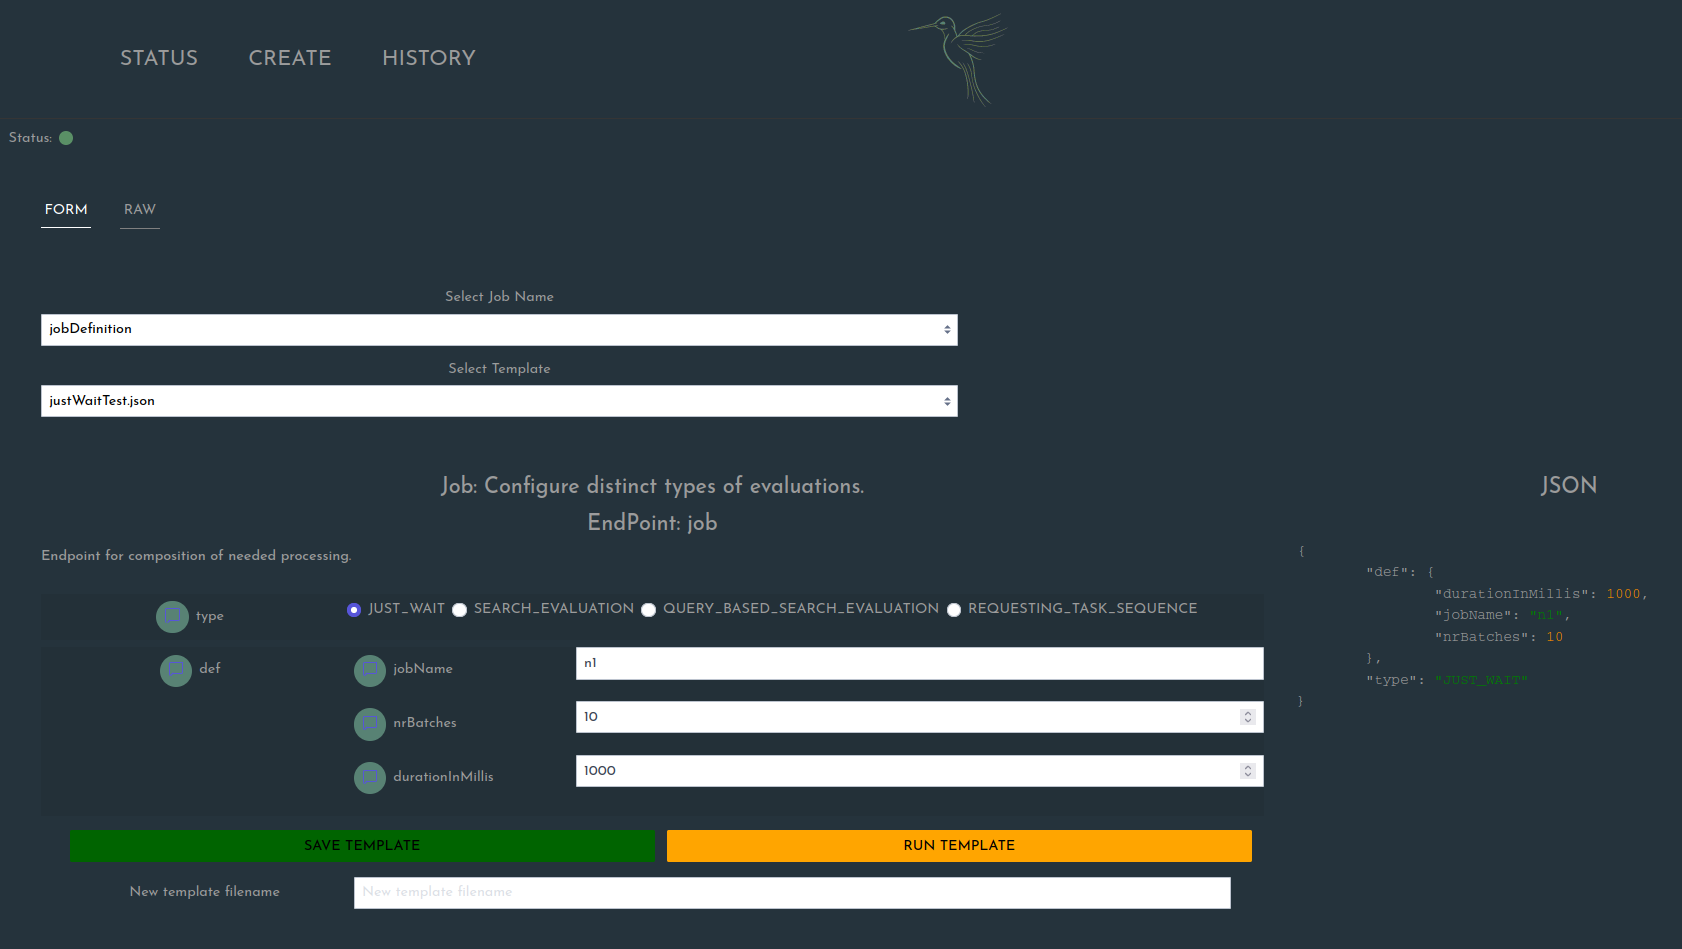
While adding information, you will see to the right the resulting json to iteratively grow with the information you
entered. The resulting json is exactly what will either be persisted (SAVE TEMPLATE button) or added to the existing job
definitions (RUN TEMPLATE) when using the respective controls. In case of saving, do not forget to enter a template filename
(make sure it ends with .json and does not clash with an existing job definition template name, otherwise the action will not
succeed and you will be shown a warning).
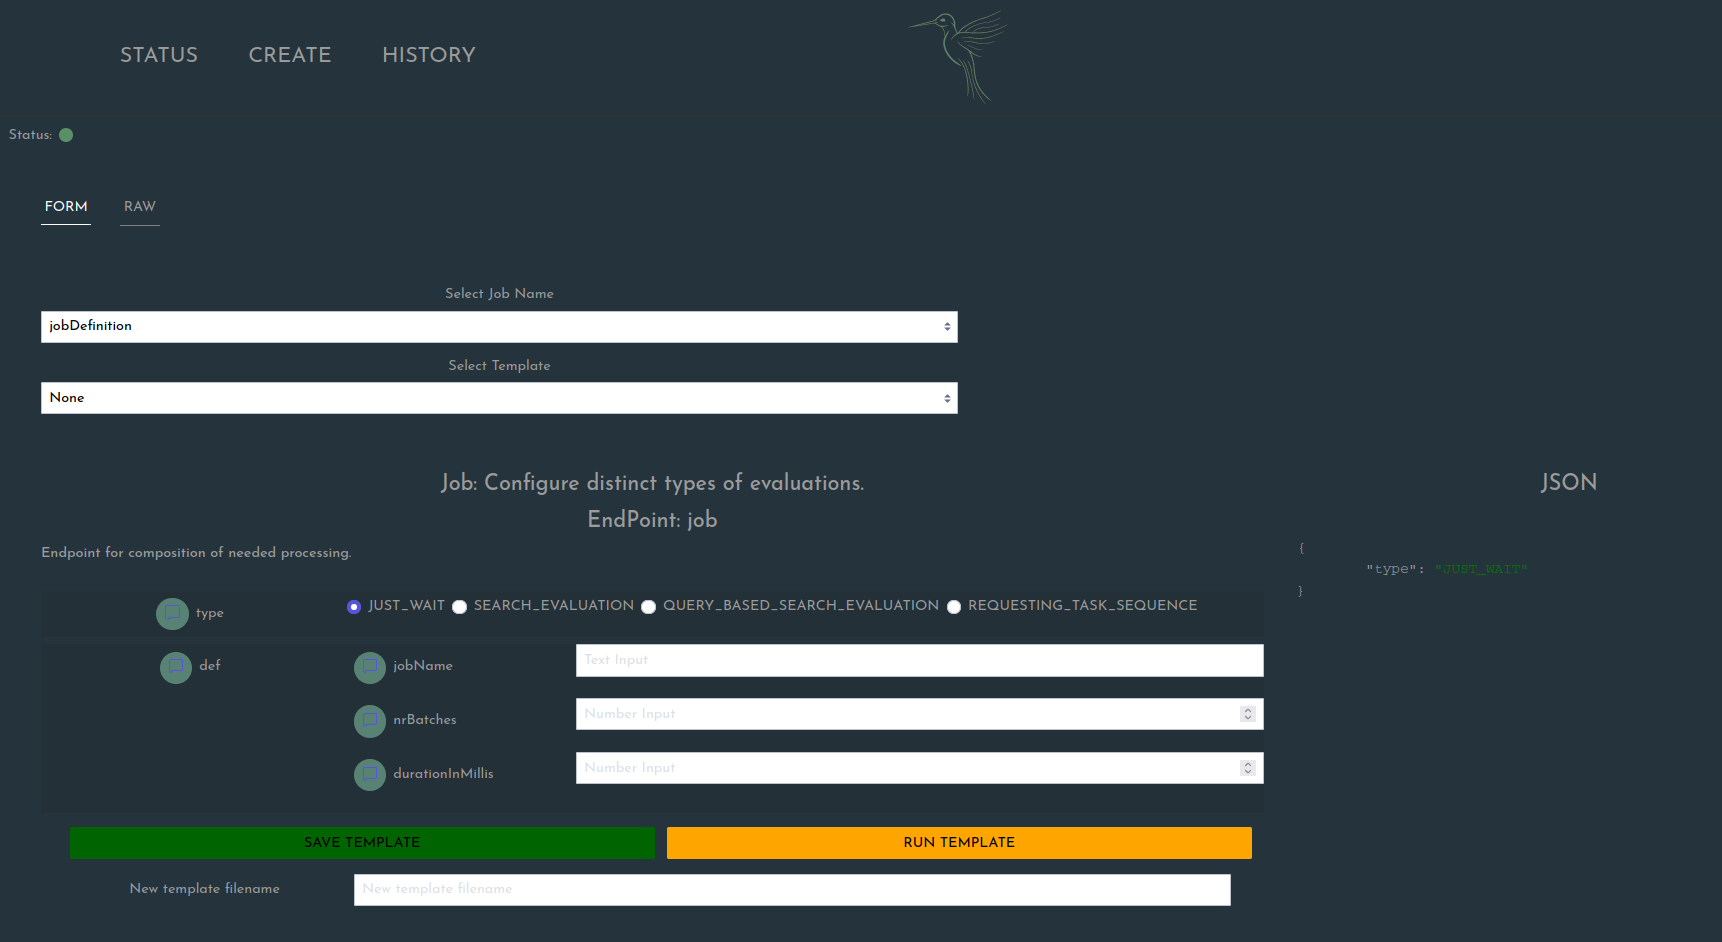
Simple form, not pre-filled:
Simple form, pre-filled:
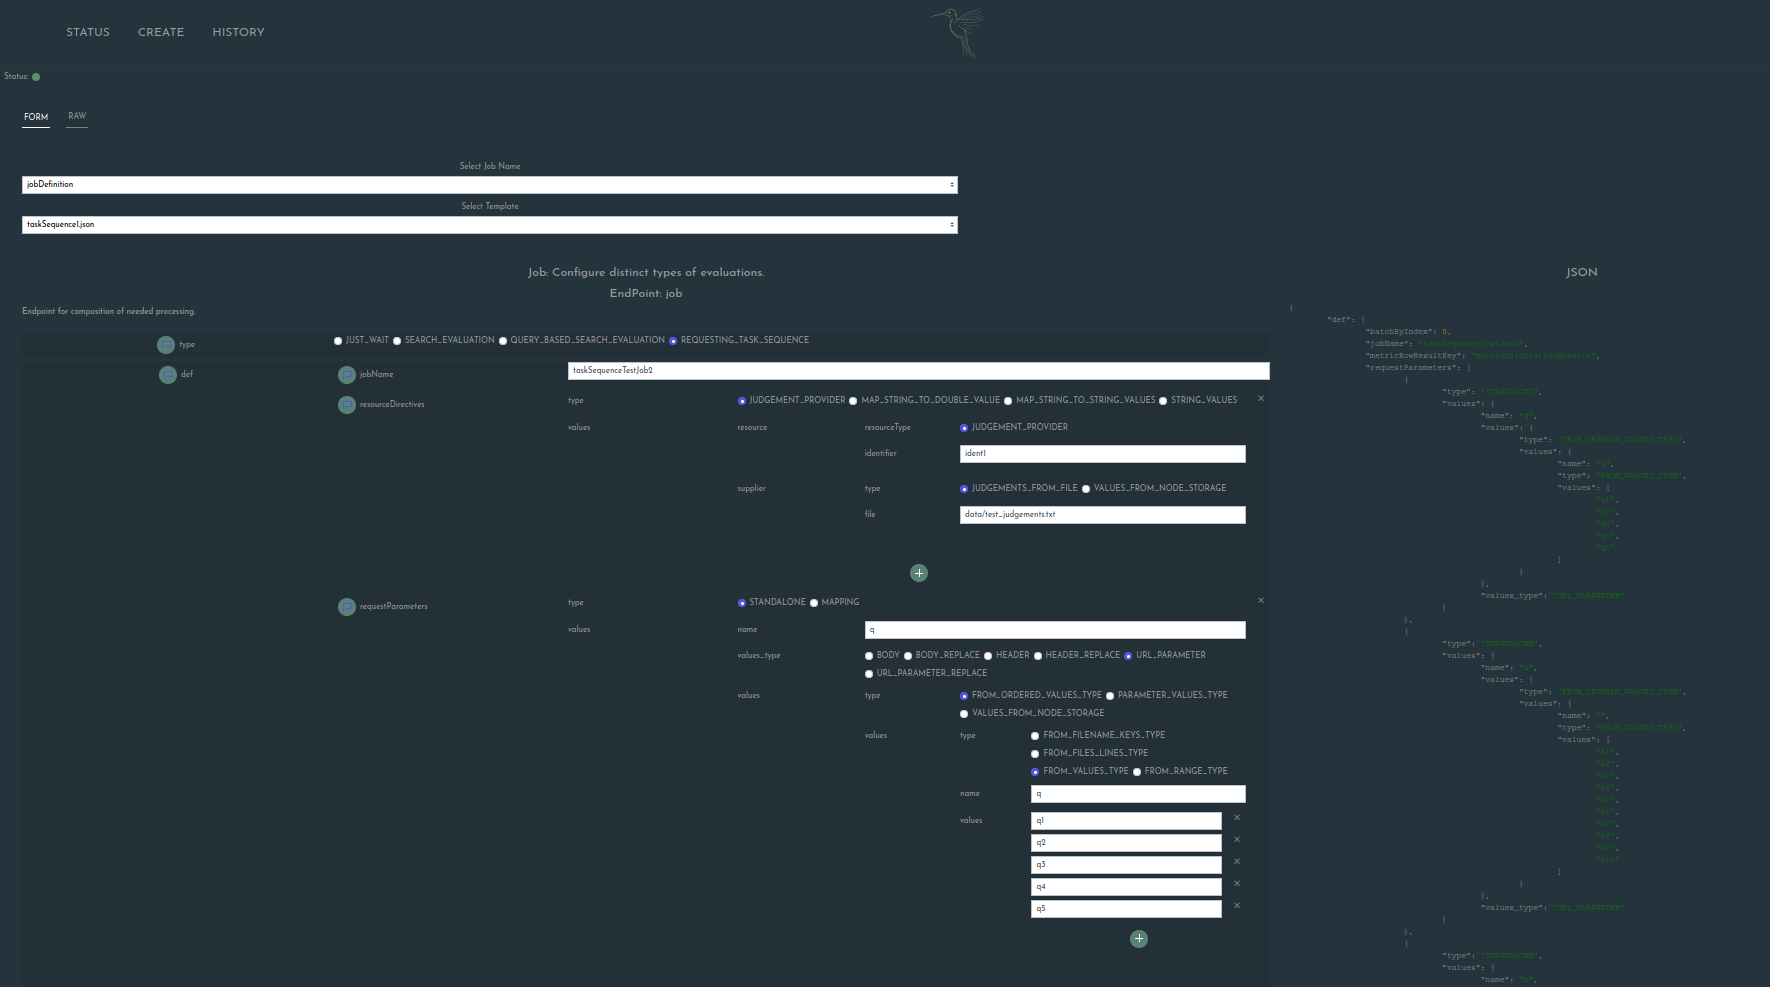
More complex form, pre-filled:
RAW mode
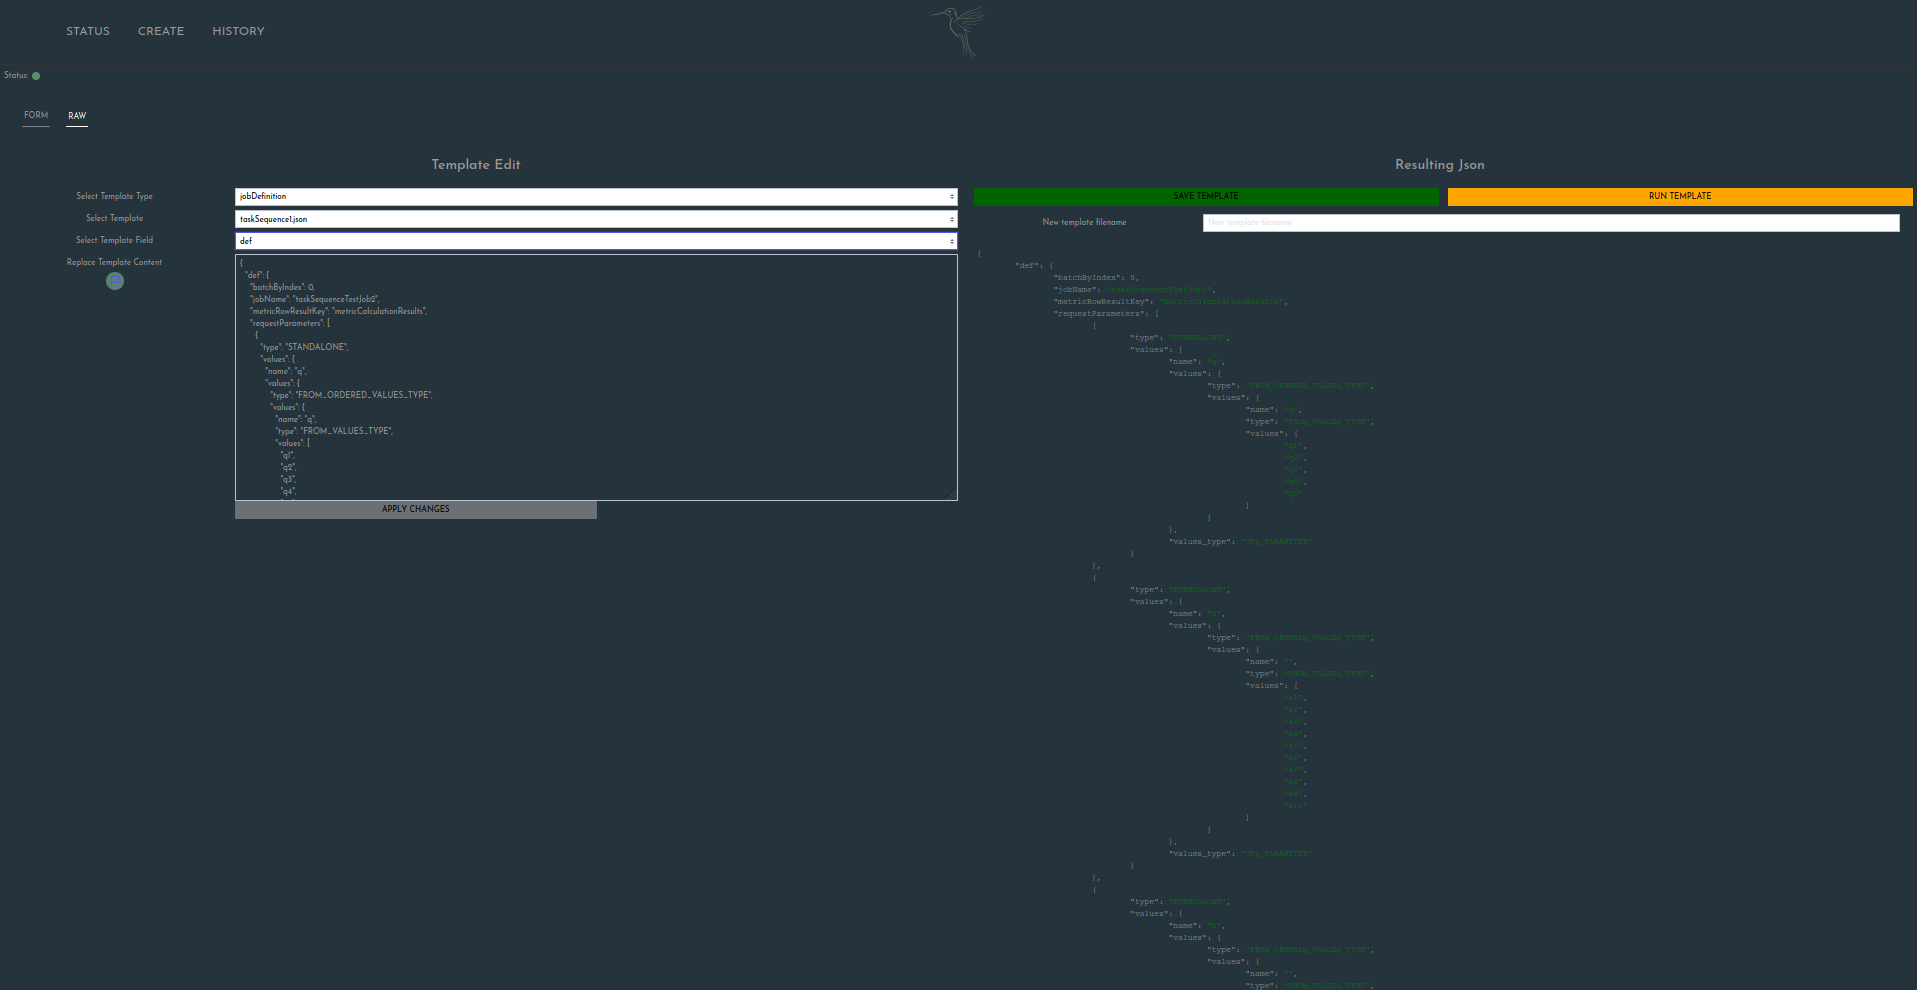
RAW: after selecting a template type and a specific template, this form allows free input per field name. By using the
APPLY CHANGES button under the input box, the json to the right gets updated. Note that nothing is persisted before you use
the controls as described above.
Running the first Job
Our Hello World example here is a boring wait job. It does actually not do anything except block a thread for a while
and then be done at some point.
Have a look at the above example for jobDefinition selected for the field Select Job Name. Input needed:
type: selectJUST_WAITjobName: give your job any name (trying to run the job will only fail if there is already a job with the same name in the open jobs. Note that the job name there is actually of the form[jobName]_[timePlacedTimeStamp], and only the jobName is used for comparison here.nrBatches: the number of batches you would like to run (dont select too many, since they are actually not doing anything useful),durationInMillis: time you want each batch to wait before finishing
Now click on RUN TEMPLATE. After a few moments you should see the job appear on the Status Page, find it and press Start.
Congratulations, first job is running! :).
Also, you should fine in your configured base folder a jobs subfolder, where you should find in the open subfolder another folder
that is named according to [jobName]_[timePlacedTimeStamp]. This is the subfolder for the respective job, containing the job definition,
process status information and processing directives (single empty files starting with KDIR_ that define whether / how a job shall be processed).
Note that after processing is done the job subfolder gets fully moved to the done subfolder.